How I edit my iPhone photos with VSCO app
Have you ever wondered how others edit their photos? I love behind the scenes stuff as I find it helpful, so I wanted to share mine. :)
When I’m on the go, I try not to take my camera to be more lightweight and in the moment. These days you can get away with this since phone cameras are high quality and good editing apps are aplenty.
Pre-editing tip:
Try to get into the habit of understanding your environment before you shoot, as it will speed up your editing process. For example, if you are capturing a sunset scene on a warm day, your images will have a warmer tint than usual. I would suggest maintaining that warmth when editing, by keeping the white balance on the warmer side. Saying this, everyone has a unique editing style, so I urge you to experiment and find what works for you. You may want to tell an entirely different story or come from an alternate standpoint; this is an excellent opportunity to use your artistic license and will set you apart from others. There is no right or wrong here. I will cover this in more depth in another post one day as it is an essential part of taking good photographs.
My editing style
My editing style reflects my love for simplicity and realism. So when I edit, I like to accentuate the beauty that already exists, by maintaining the colours and mood. I also prefer a softer feel to my images to stay in keeping with my lightweight concept. Being afraid of colour, (lol) I also prefer to desaturate everything. I hope this is helpful and have fun! :)
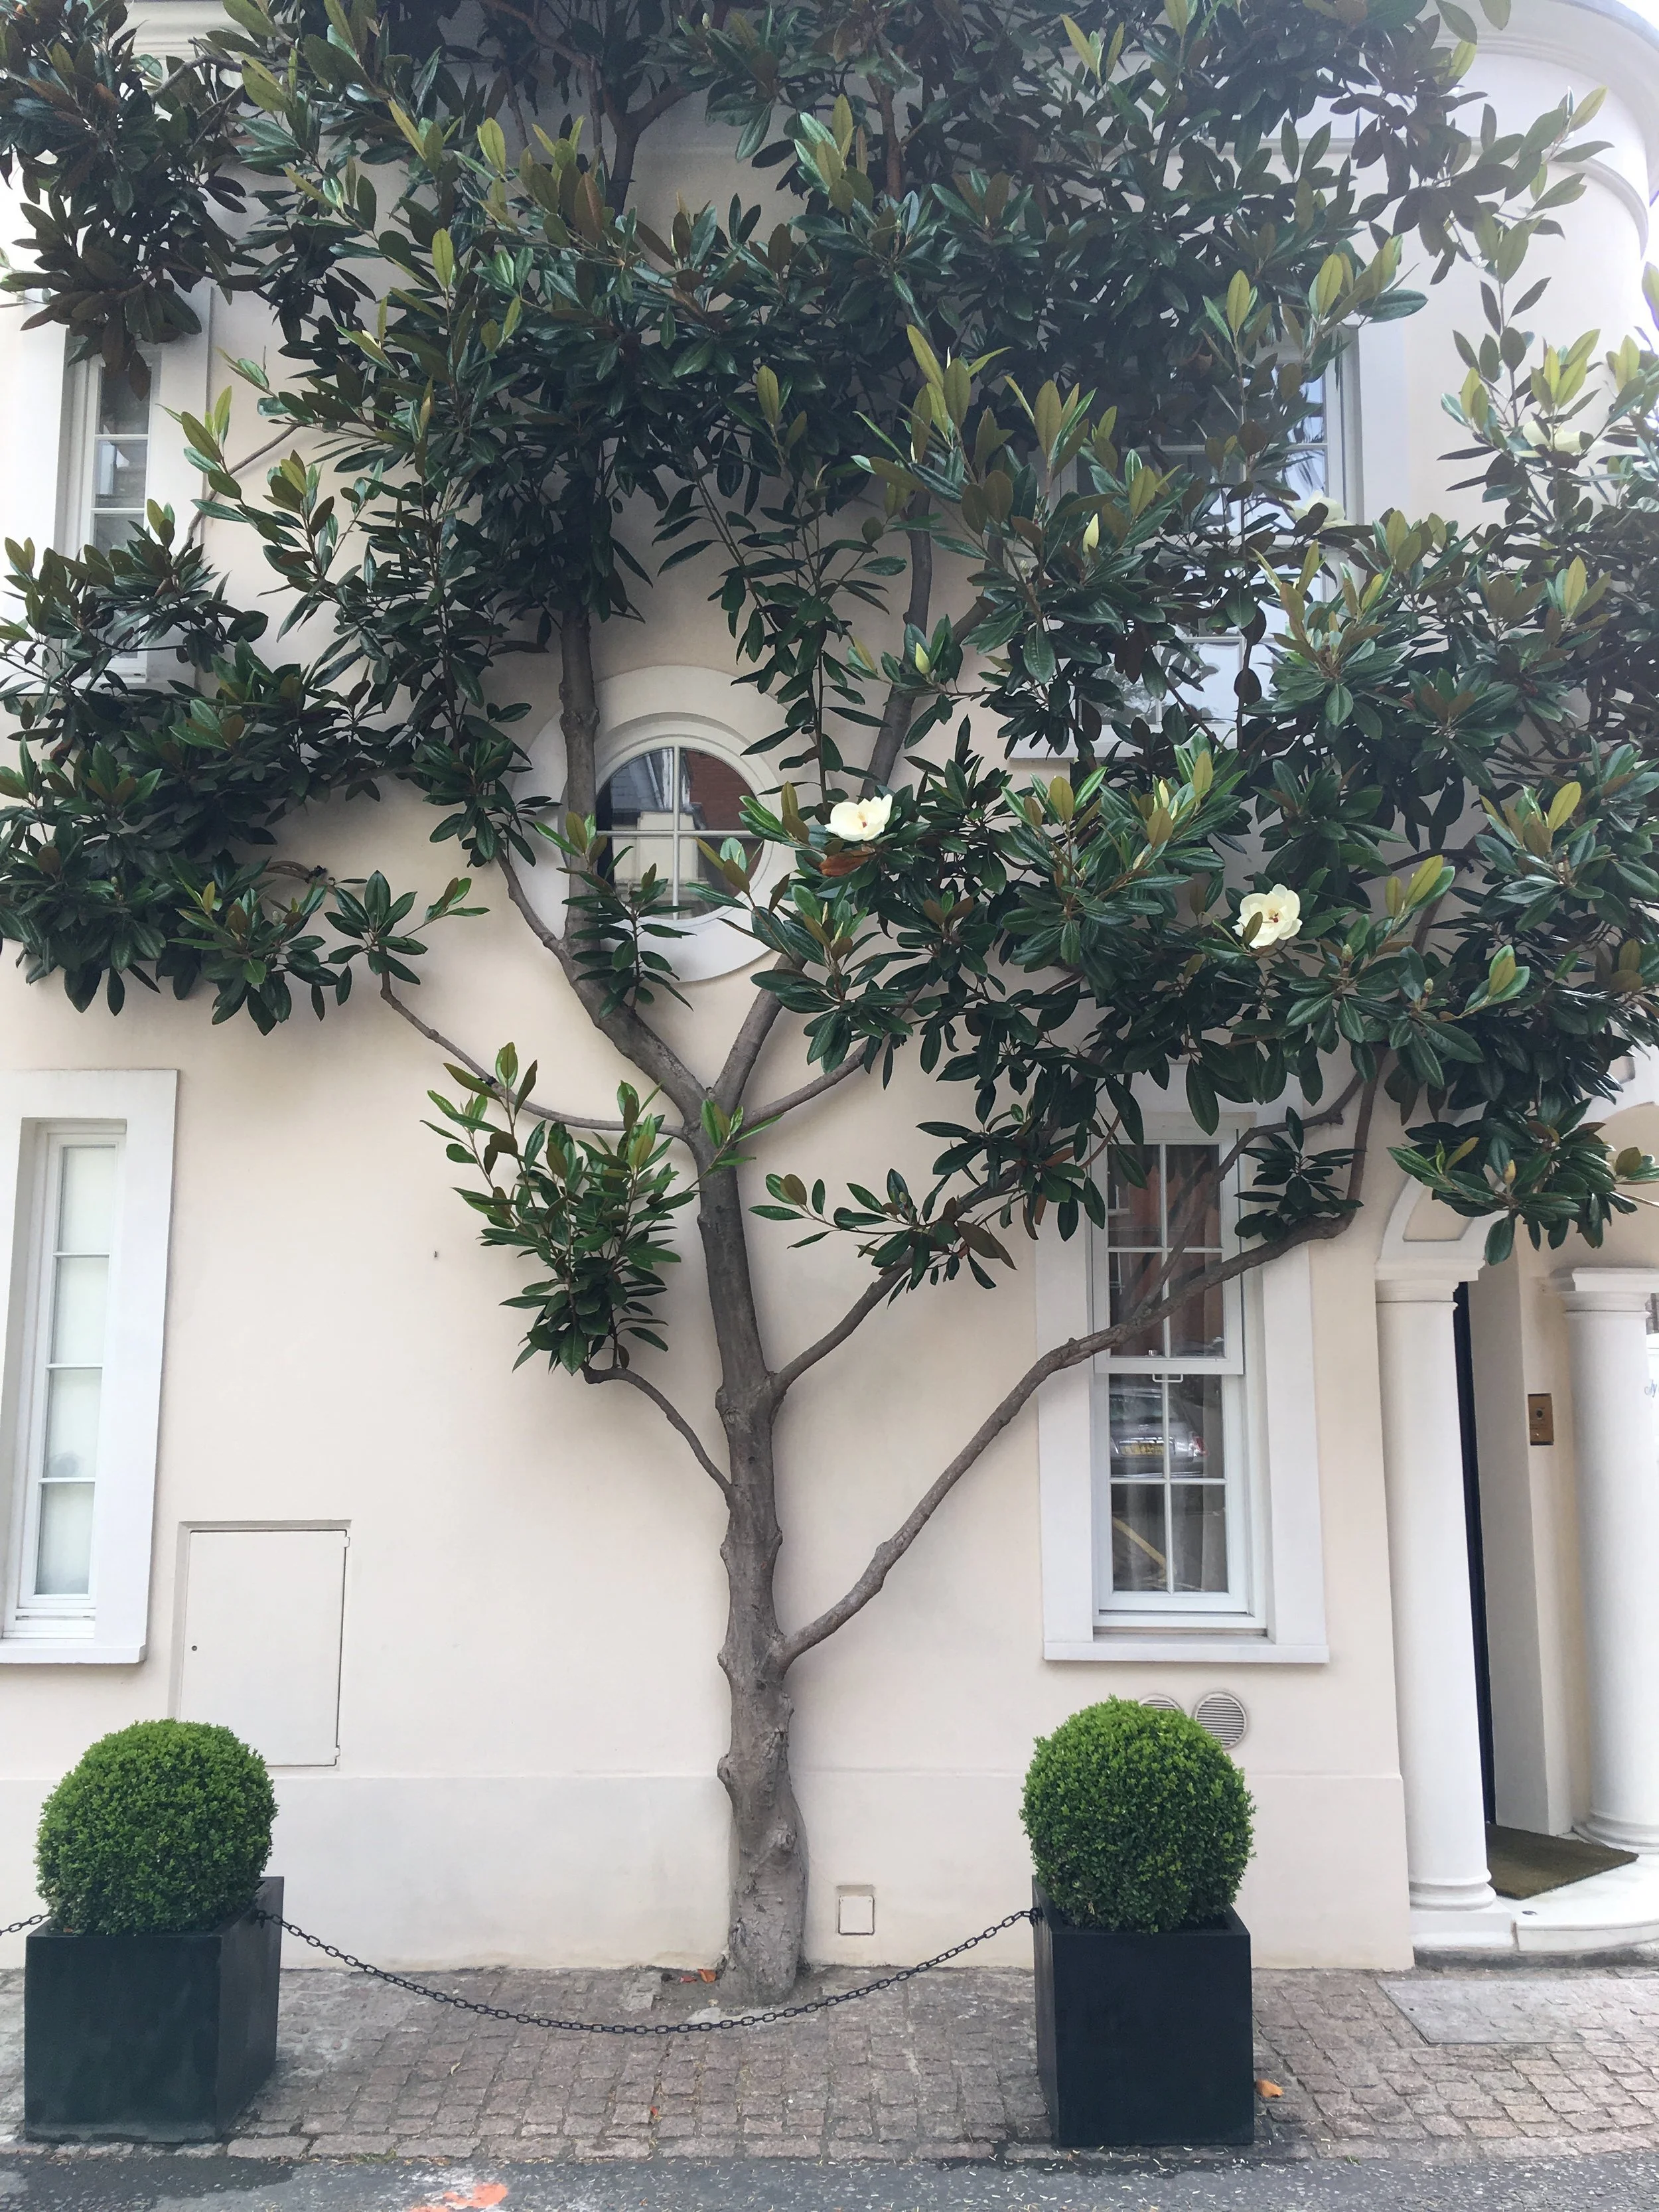
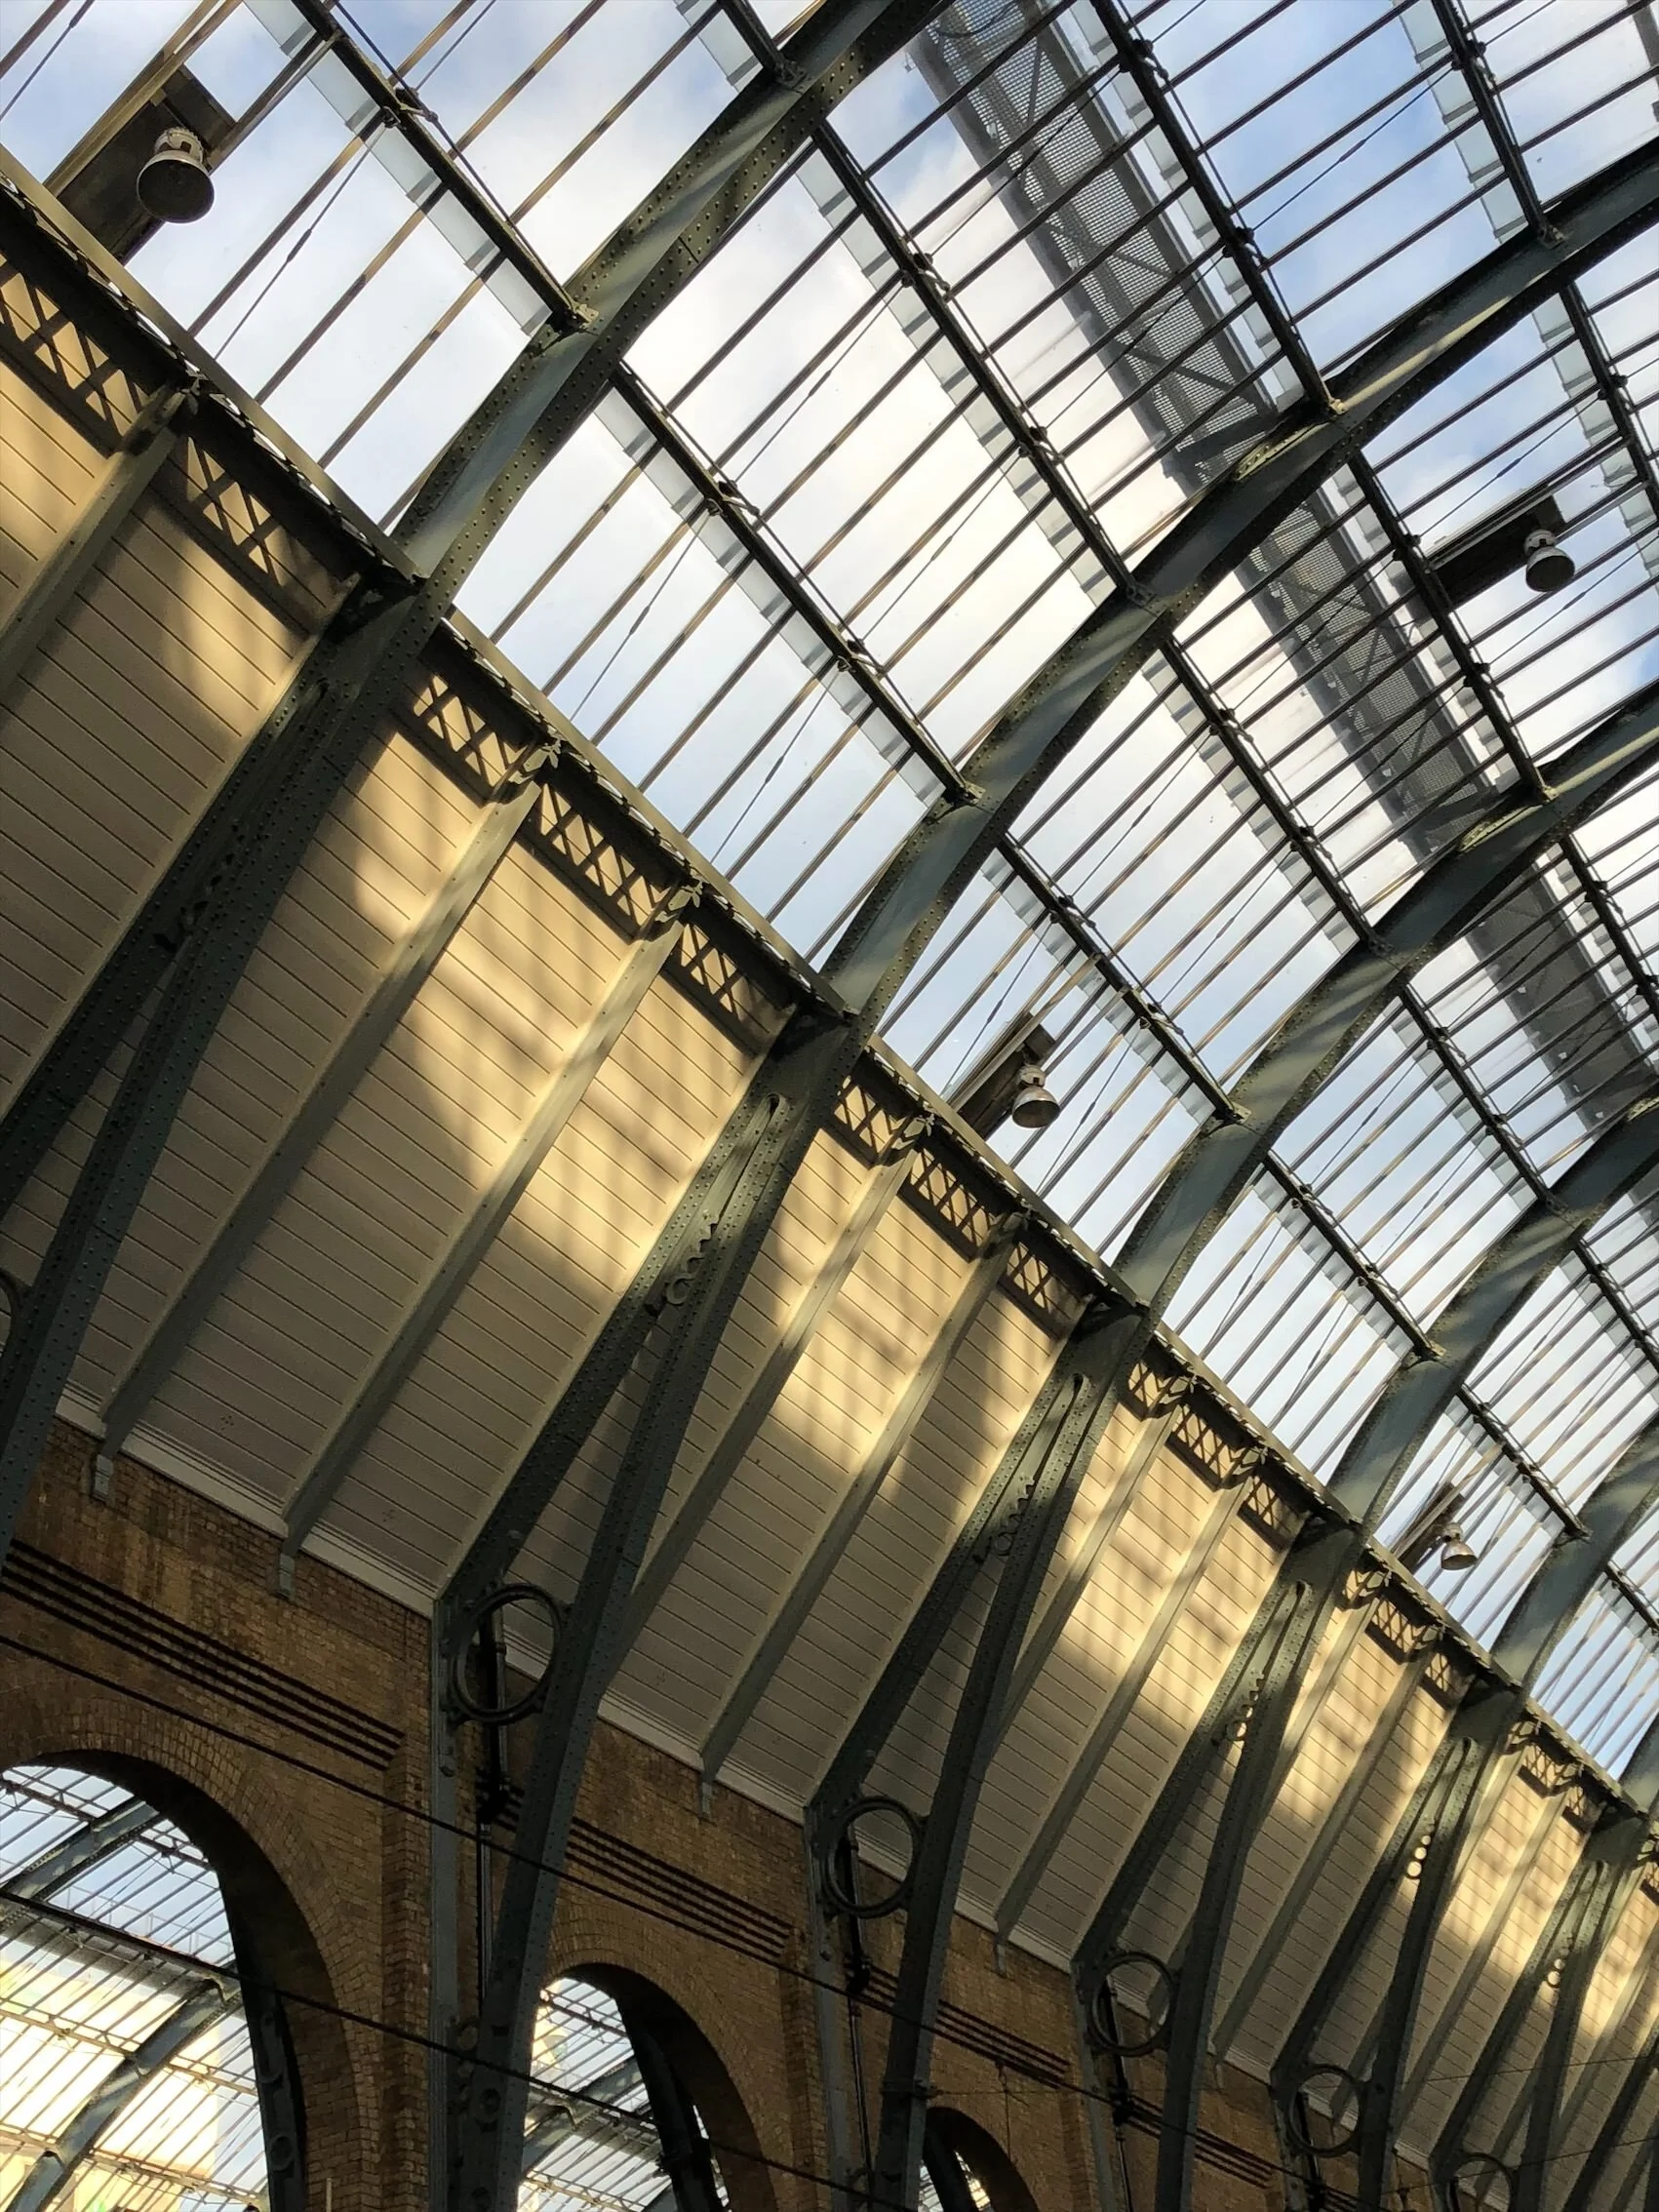
Before
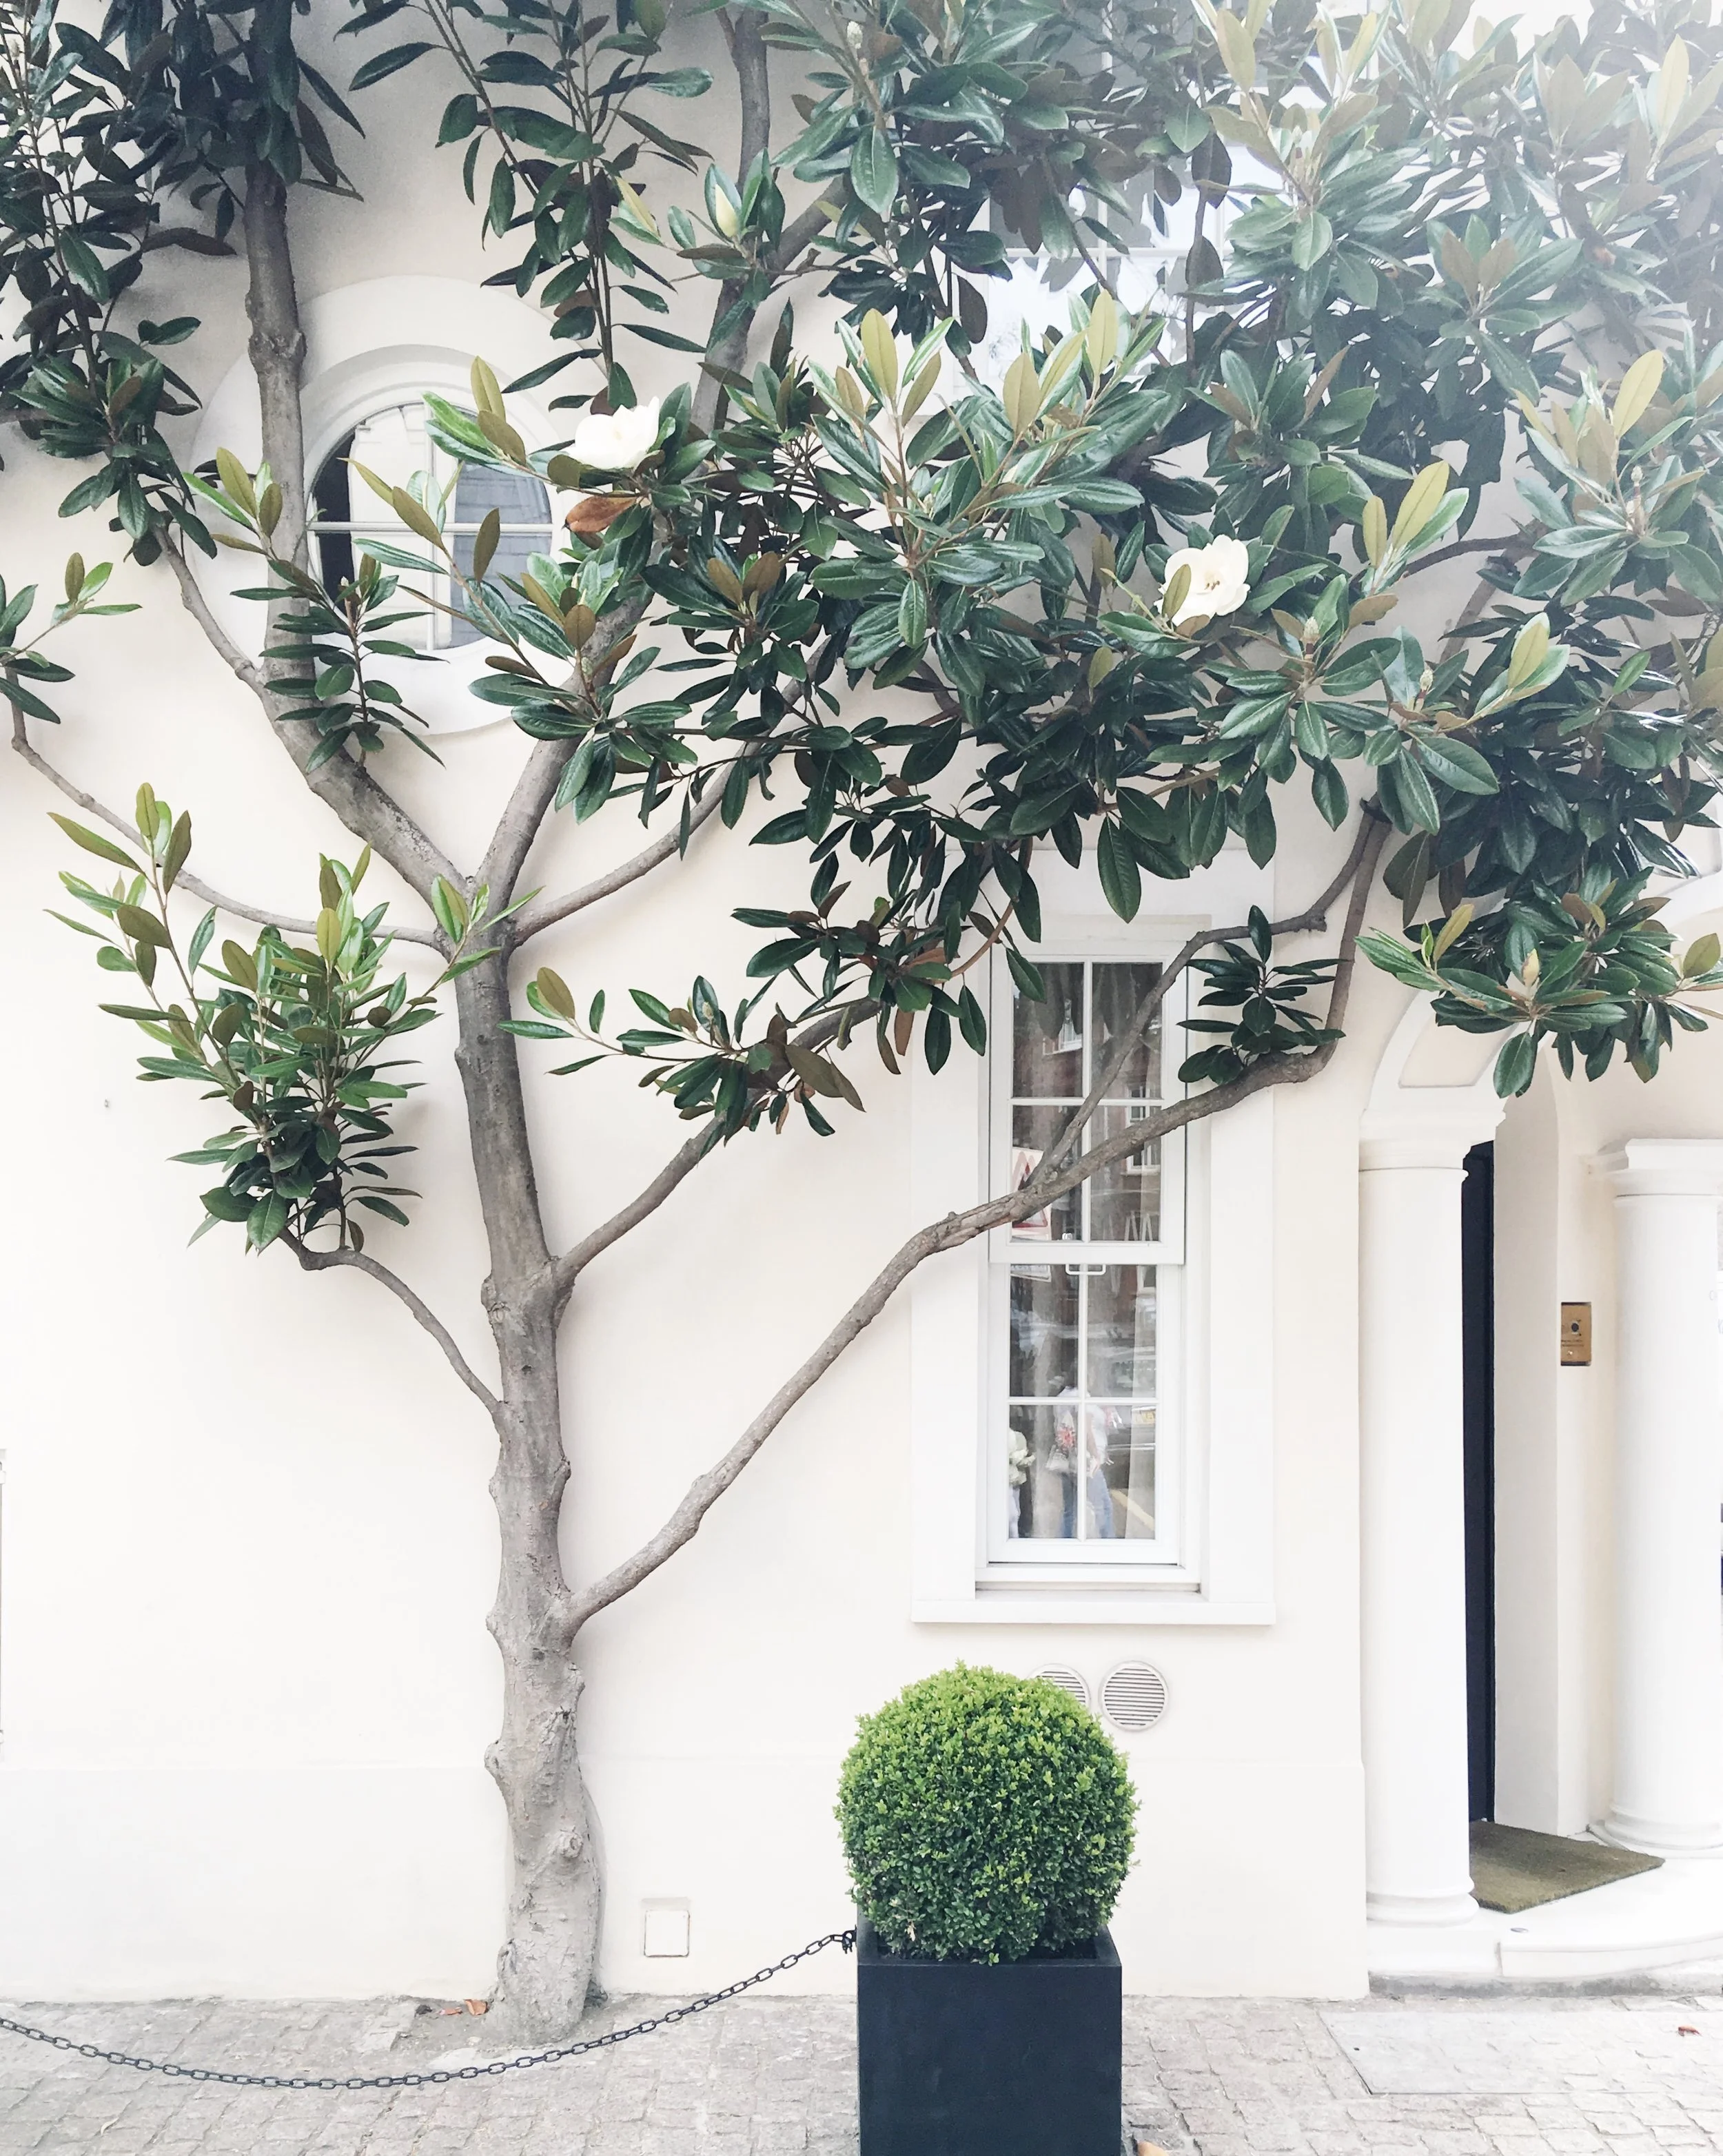
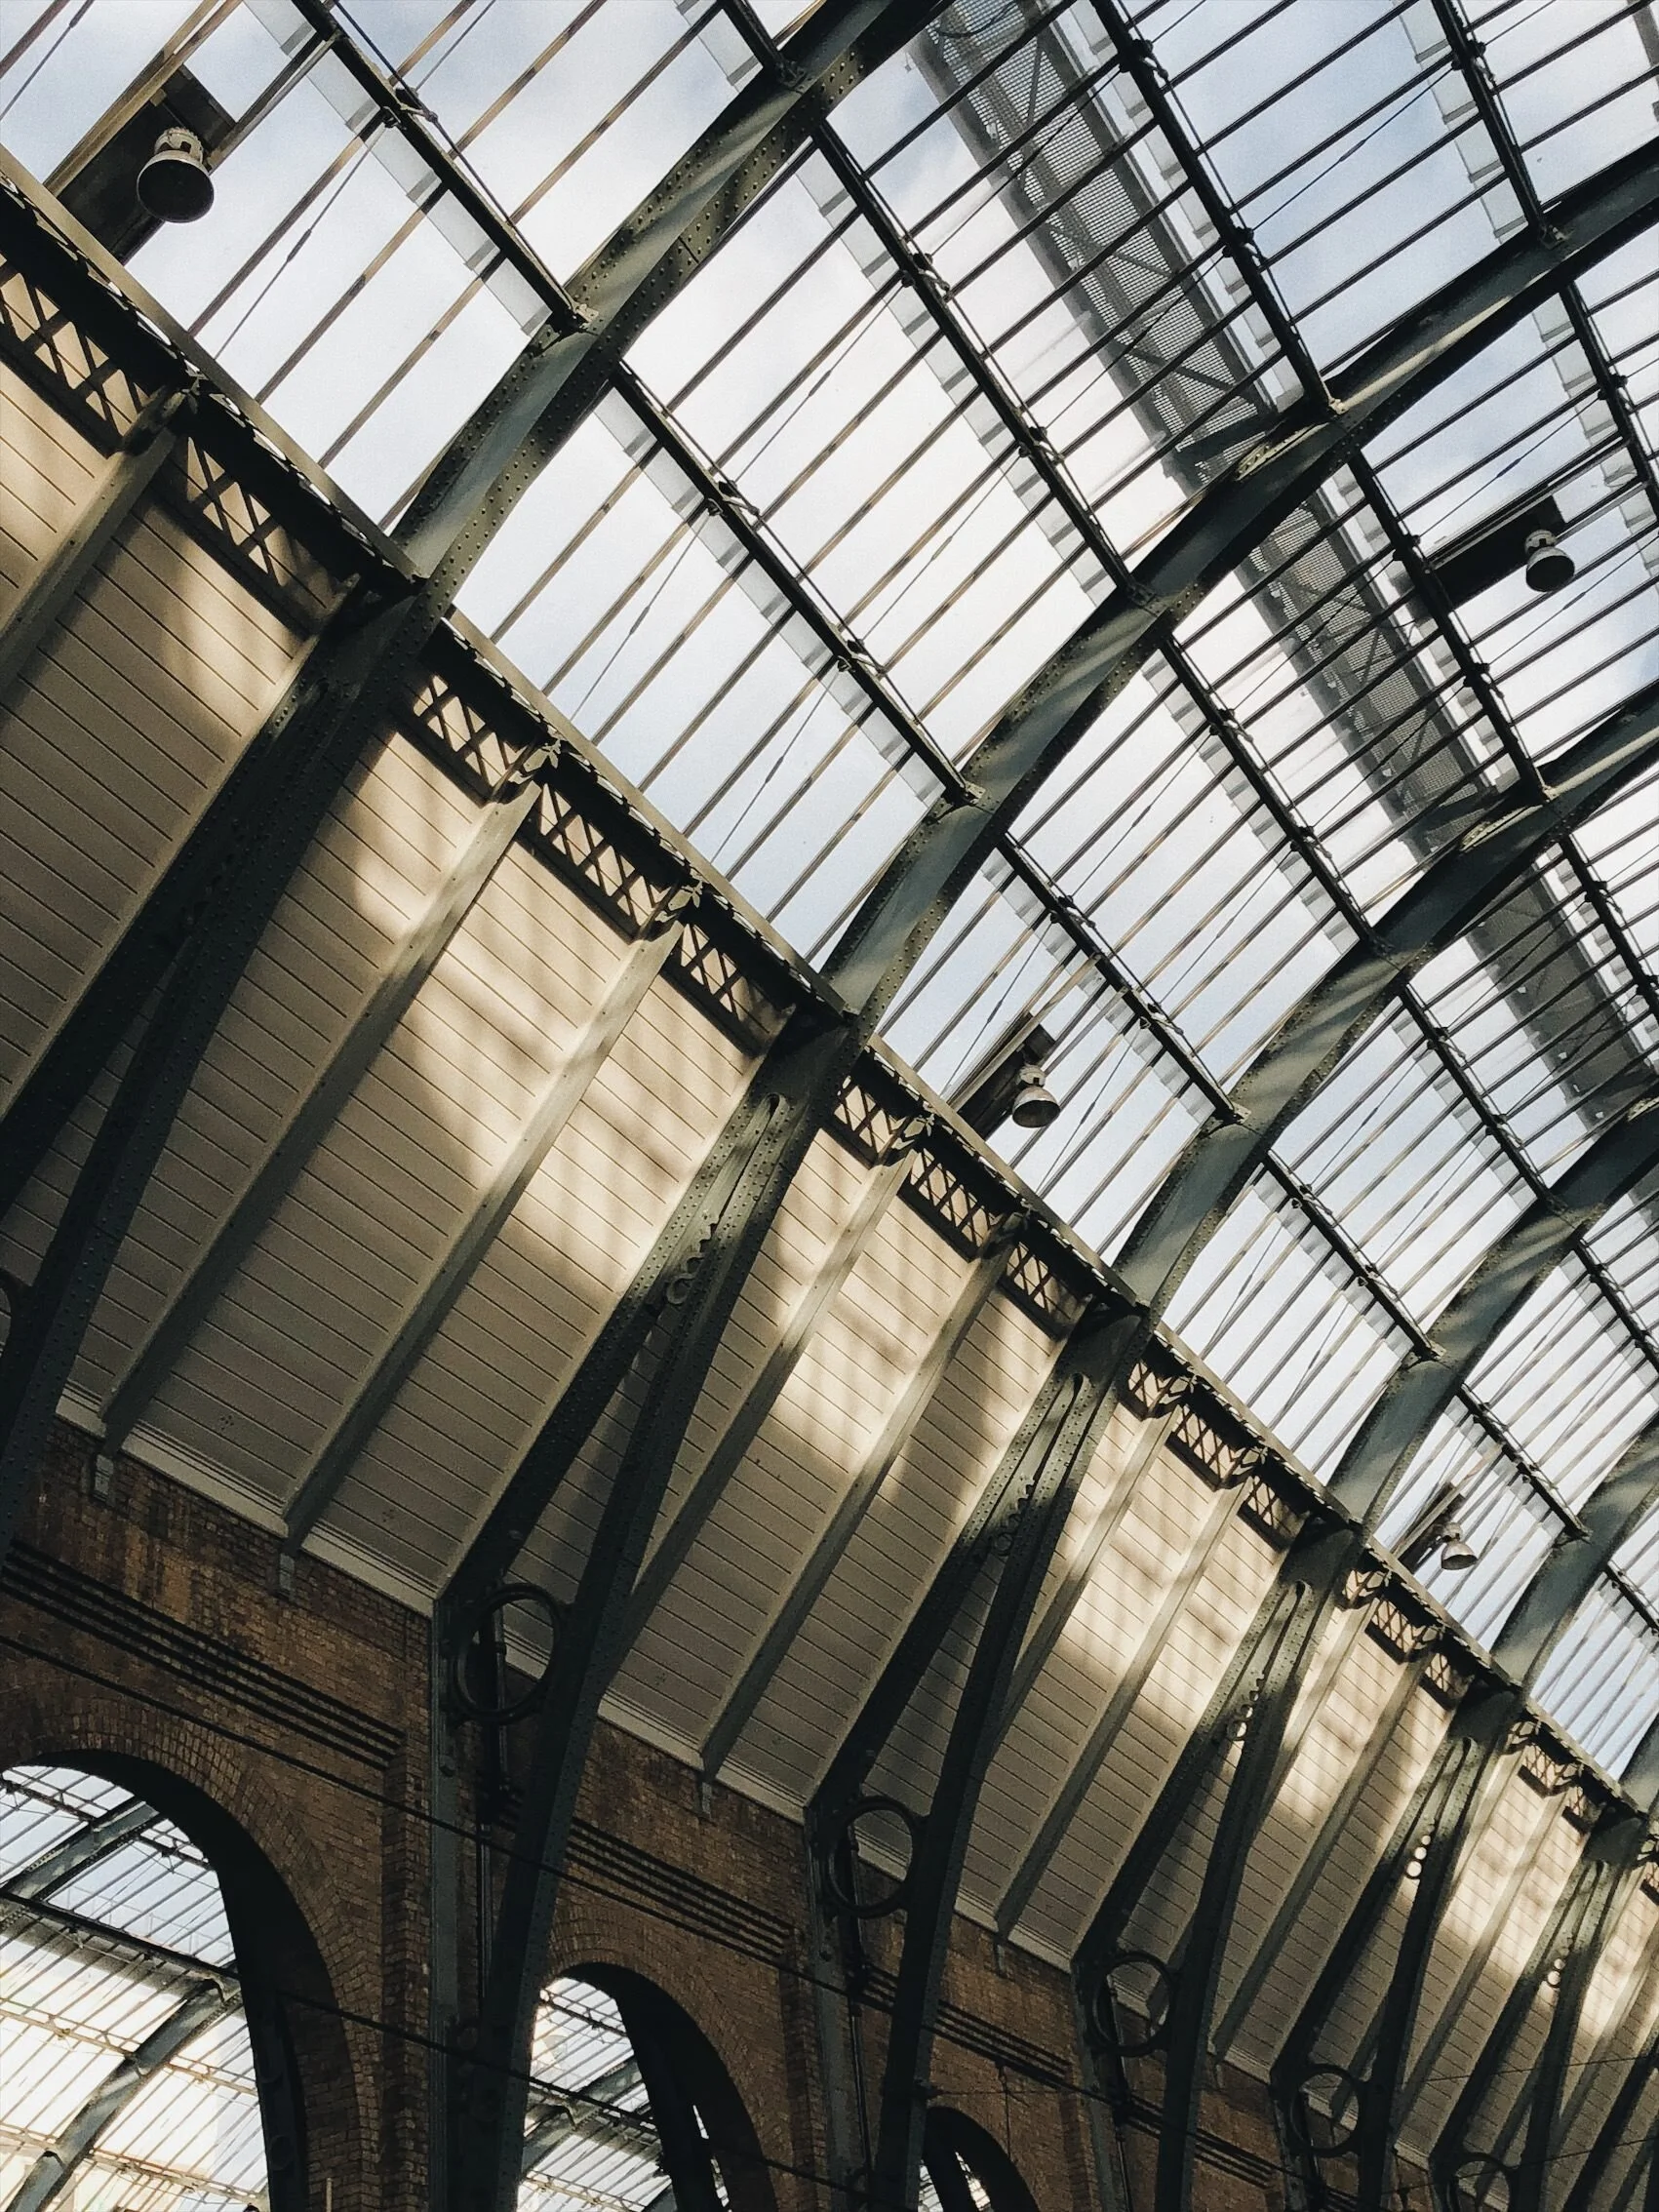
After
Filter S2 / Clean +12.0
Crop to 4:3 ratio (To cut out the red marking on the bottom and one of the plant boxes).
Y-Skew to vertically straighten the image. I do this with most buildings (notice the window).
Contrast +1.1
Highlights +0.4
Exposure +1.7
Saturation -0.4
Temperature +0.2
(I upped the contrast in this because the light was flat. Because I understood this about my environment, I knew already as I was taking the photo that I would need to up the contrast. I also knew that I would have to straighten it out.)
Before
After
Filter S2 / Clean +12.0
Y-Skew to vertically straighten the image.
Contrast -1.6
Clarity +0.6
Highlights +12
Shadows +9.7
Exposure +1.1
Saturation -1.6
WB/Temperature -0.2
WB/Tint -0.8
Grain +0.7
(The light was beautiful but very contrasted here. The overall image was also too dark for my liking, so I softened it by lowering the contrast and lightening the shadows.)
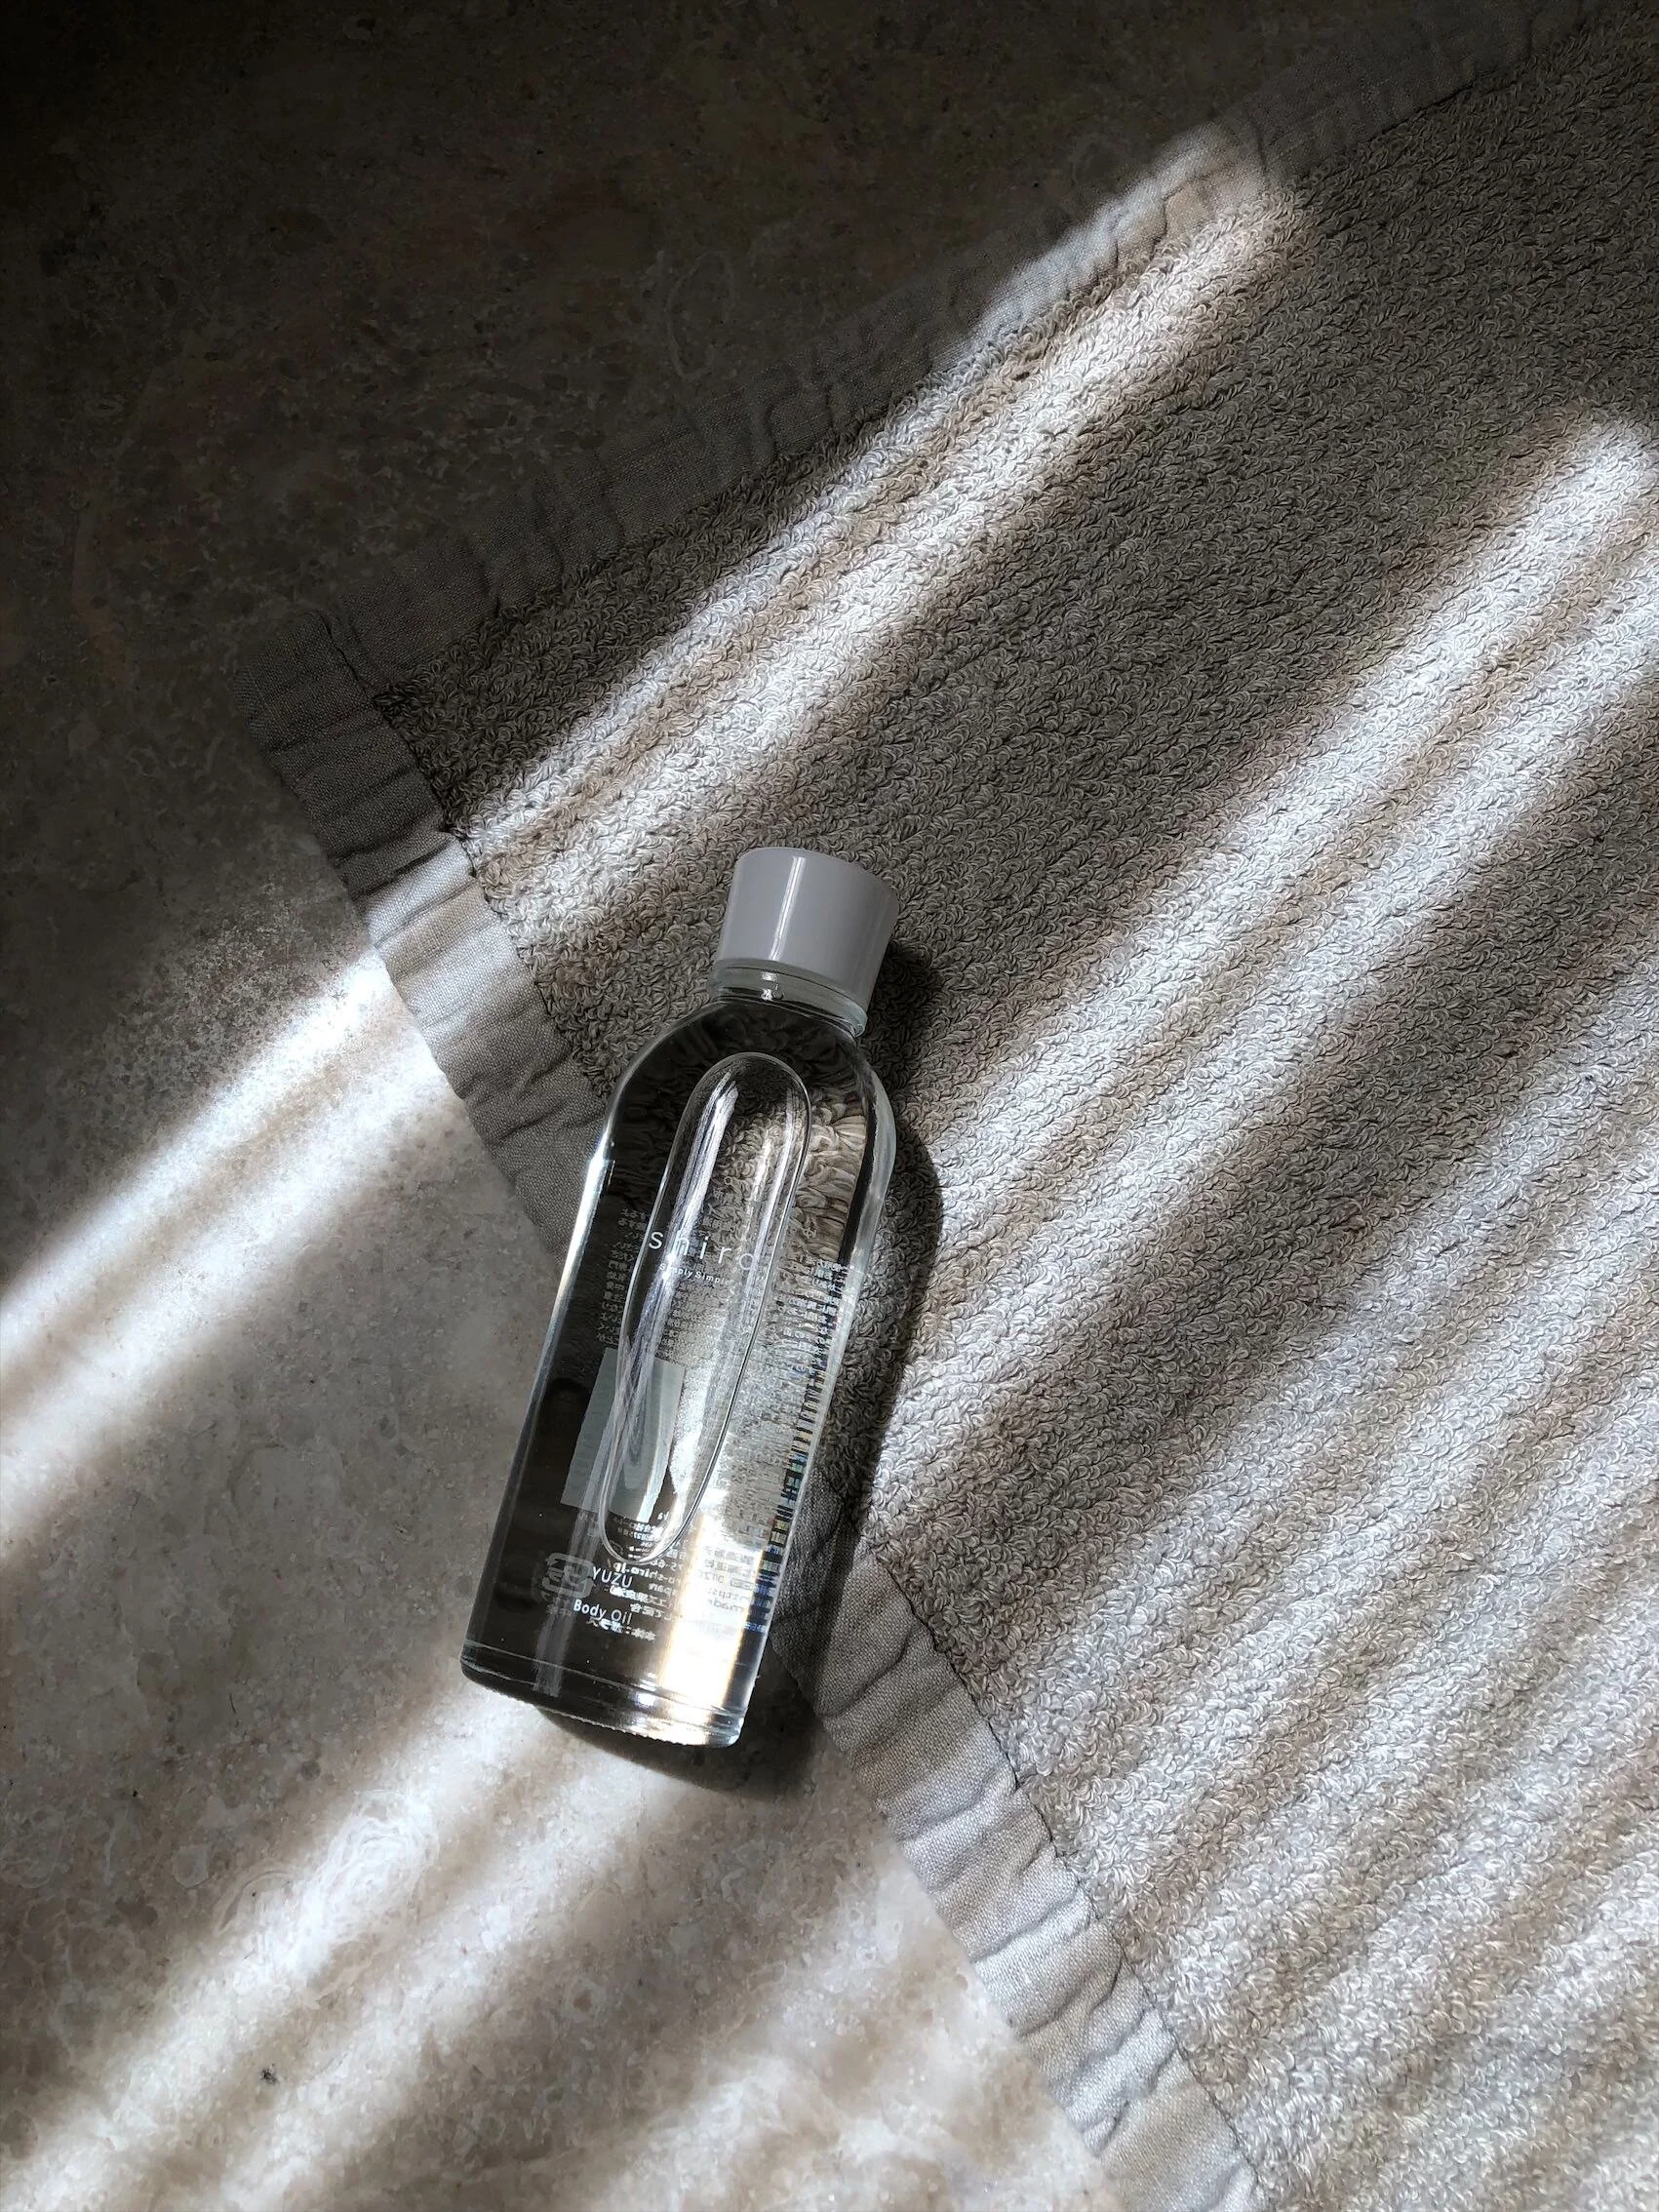
Before
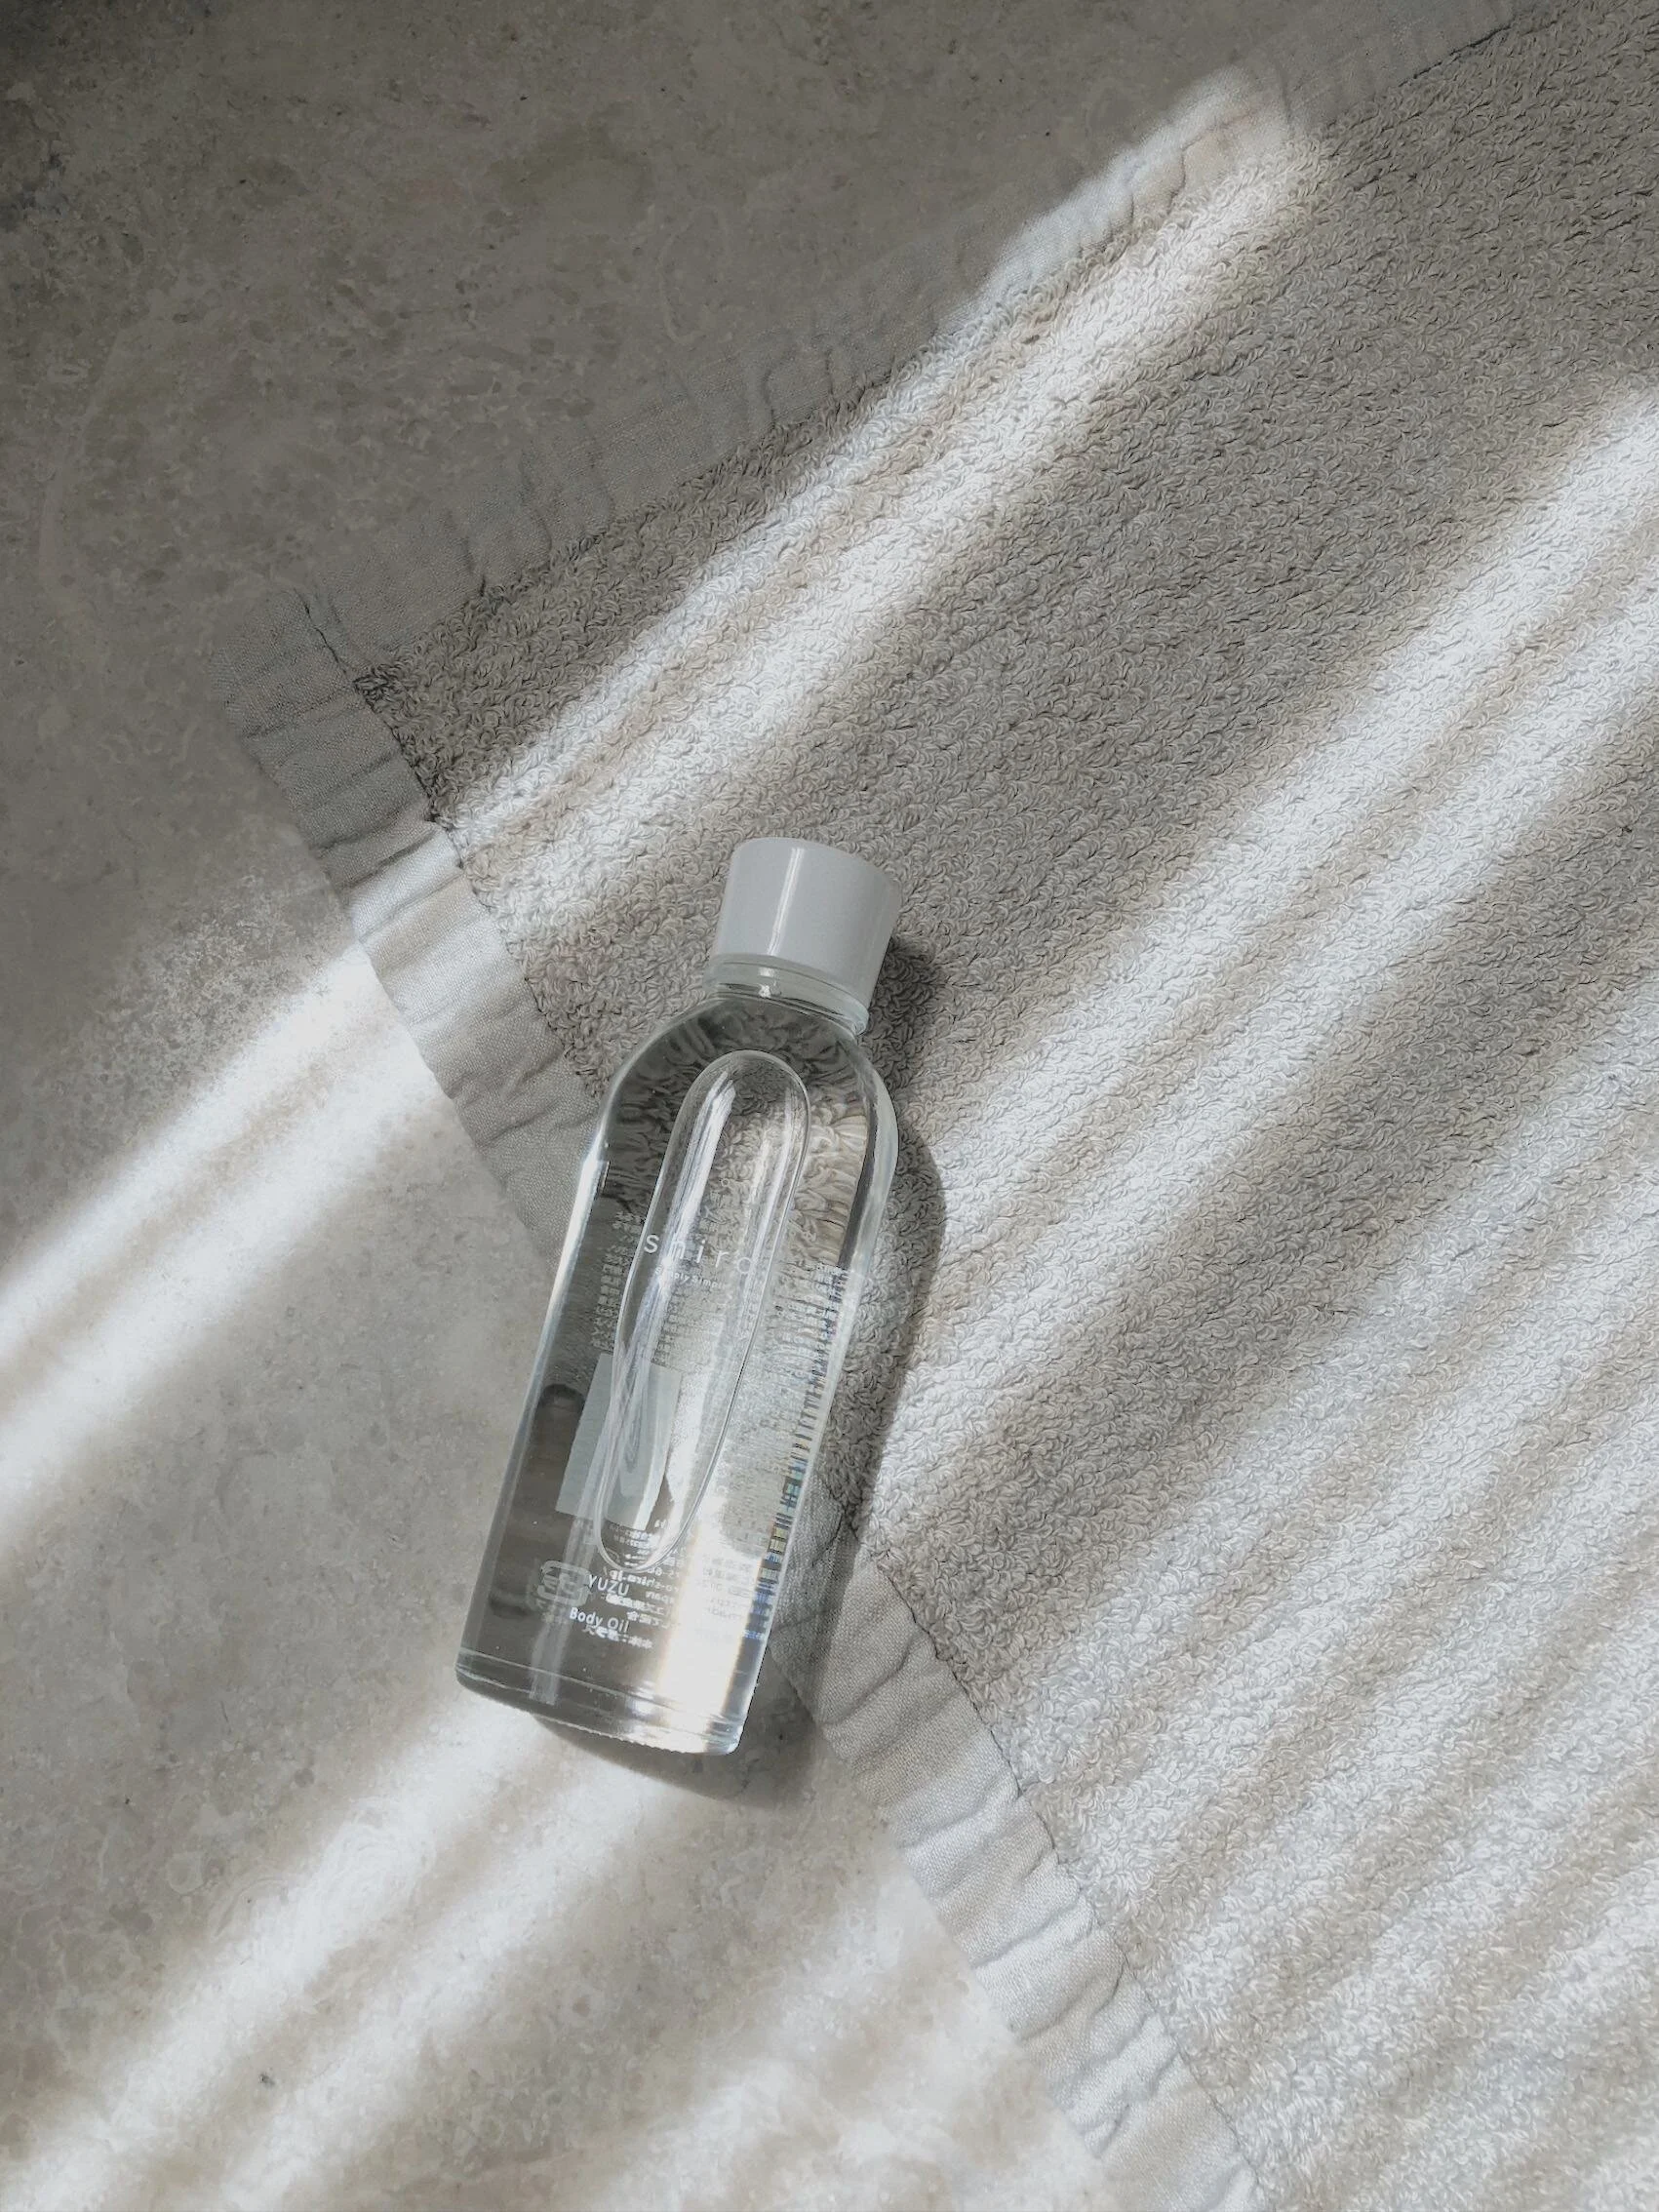
After
Filter A6 / Analog +12
Contrast -2.0
Saturation -0.6
Sharpen +0.7
Grain +2.0
(This photo was too yellow for me and not on-brand so I desaturated the yellow without going all the way. I don’t usually sharpen my images to retain softness, but with architecture, I think it can work.)
Instagram tweaks
When uploading to social media, I like to check the overall tone of my grid and make adjustments accordingly. An image may need extra sharpening, further highlight reduction or more desaturation. Instagram is an excellent tool for making last-minute edits.
Let me know in the comments below if you have any other photography related tips you would like covered. :)
Want More Hikarui?
Get lightweight content straight to your inbox to guide you through modern stressors and help restore creativity.

